Create a child item
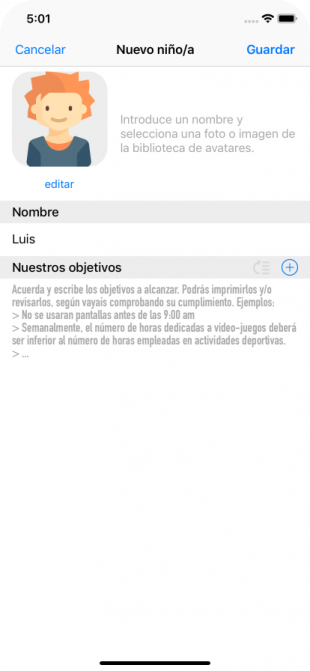
When the application starts for the first time, and detects that there are no children registered in the application, this screen will be shown in order that we can add the name of the first child to which we will track their activities.
Later we can add new boys or girls from the Children tab screen, by pressing the "+" button in the upper right of the screen.
Once the Add child screen appears we must enter a name to save the child in our application. If we press cancel, no data will be saved and no children will be created in our application.
Optionally we can change the image associated with the child that we are going to save, by clicking on the "edit" button (below the image). In this way we can select an avatar image or a photo of our Photo Library, different from the image shown.
We can also optionally associate a list of objectives or agreements that remind us, both the child and his tutors, what are the goals we want to control with the use of the application.
Tapping Save or Cancel, the screen corresponding to the Children Tab will be shown again (except after the creation of the first child, which will show the Add activity entries tab).
